Blog language: en.
Basic information about ESP32
Blog language: en.
Introduction to ESP32
The ESP32 is a powerful microcontroller that has gained popularity in the field of embedded systems. It is known for its versatility and capabilities, making it a popular choice among developers and hobbyists alike. With its dual-core processor and built-in Wi-Fi and Bluetooth capabilities, the ESP32 offers a wide range of features that make it ideal for various applications.
Features of ESP32
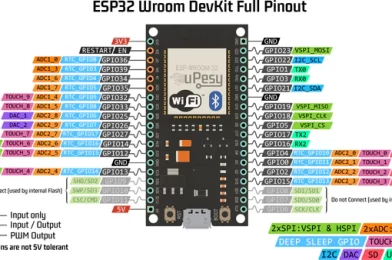
One of the key features of the ESP32 is its dual-core processor, which allows for multitasking and improved performance. Additionally, the built-in Wi-Fi and Bluetooth capabilities make it easy to connect the ESP32 to other devices and networks. The ESP32 also offers a variety of GPIO pins, analog-to-digital converters, and other hardware features that make it suitable for a wide range of projects.
Applications of ESP32
The ESP32 is used in a variety of applications, including home automation, IoT devices, robotics, and more. Its low power consumption and connectivity options make it ideal for projects that require wireless communication and remote monitoring. Whether you are a beginner or an experienced developer, the ESP32 provides a versatile platform for building innovative projects.
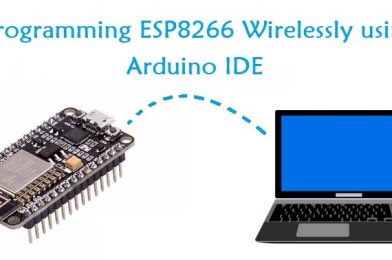
Getting started with ESP32
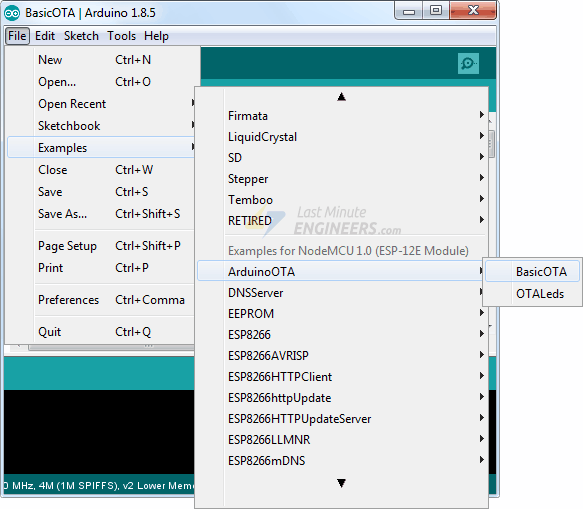
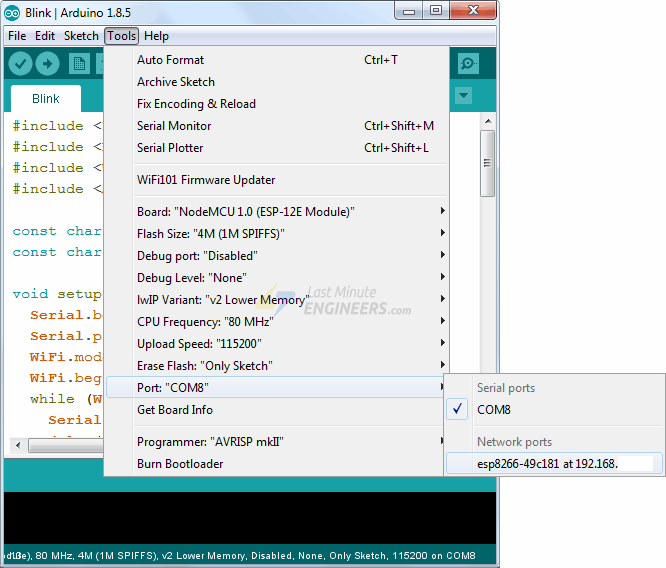
To get started with the ESP32, you will need a development board, such as the popular ESP32 DevKit. You can program the ESP32 using the Arduino IDE or other development environments, making it easy to get started with your projects. There are plenty of resources available online to help you learn more about programming and using the ESP32 effectively.
Troubleshooting common issues
Despite its many advantages, the ESP32 may encounter some common issues that you should be aware of. One common problem is connectivity issues with Wi-Fi or Bluetooth, which can often be resolved by updating the firmware or checking the connections. Additionally, power-related issues or software bugs can also cause problems with the ESP32. By familiarizing yourself with these common issues and troubleshooting steps, you can ensure a smooth development process with the ESP32.
Remember, the ESP32 is a versatile and powerful microcontroller that can be used in a wide range of projects. Whether you are a beginner or an experienced developer, the ESP32 offers a wealth of features and capabilities to help you bring your ideas to life. Start exploring the world of ESP32 today and unlock the potential of this innovative platform.