Toroidal Transformers

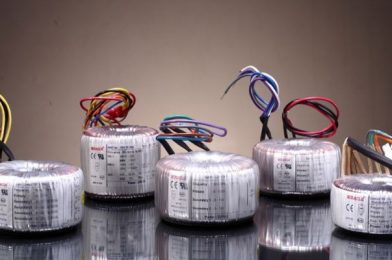
Transformers are made from a pair of solenoids wrapped around a metal core that is usually a ferrite. Toroidal transformers are two coils wrapped around a metal, such as a ferrite or silicon steel, that is doughnut shaped. The coils are either wrapped in different areas or placed one over the other. They are preferred for RF or radio frequency transformers, where they are used to increase or decrease voltages from power sources, and to isolate different parts in a circuit. RF transformers are also used for impedance matching, which means they help connect input and output parts of different circuits.

Here are five other reasons why toroidal transformers are used for many industrial applications:

  1. Low noise and low stray field – The field generated by magnetization, also known as the stray field, is lower in a toroidal transformer, due to the uniform core windings. Less magnetic interference in toroids results in higher performance.

  2. Easy to mount – Using just one screw, toroidal transformers can be easily mounted in a short time. This convenience helps limit maintenance and downtime.

  3. Low operating temperature – Toroidal transformers operate at lower temperatures than transformers with similar specifications.

  4. Light weight core – The core of a toroidal transformer weighs less than typical transformers due to it being comprised of less raw materials.

  5. More economical – Since toroidal transformer cores are manufactured from fewer materials, they weigh less than conventional transformers and use less energy, providing better cost savings and higher return on investment.

The toroidal transformers efficiency makes them useful for a wide array of machines such as audio/visual equipment, security systems, telecommunication systems, industrial control equipment and power distribution equipment. Cost efficiency is an important key to the widespread use of toroidal transformers, as well as the fact that they can be customized for any diameter and height.
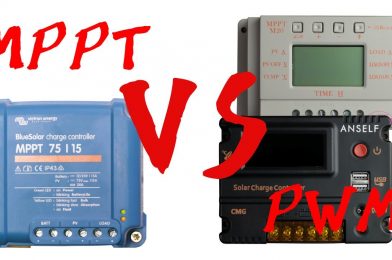
Difference Between MPPT and PWM Charge Controller


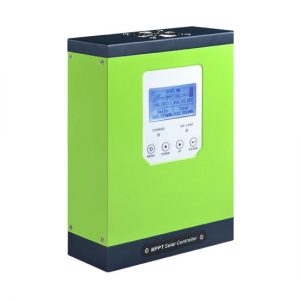
MPPT Solar Charge Controller

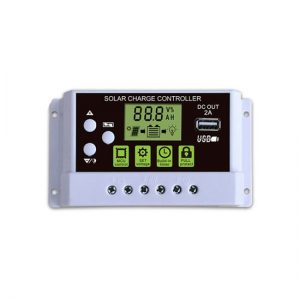
PWM Solar Charge Controller

1. What they do

The PWM controller is in essence a switch that connects a solar array to a battery. The result is that the voltage of the array will be pulled down to near that of the battery.

The MPPT controller is more sophisticated (and more expensive): it will adjust its input voltage to harvest the maximum power from the solar array and then transform this power to supply the varying voltage requirement, of the battery plus load. Thus, it essentially decouples the array and battery voltages so that there can be, for example, a 12 volt battery on one side of the MPPT charge controller and a large number of cells wired in series to produce 36 volts on the other.

As array size increases, cable length will increase. The option to wire more panels in series and thereby decrease the cable cross sectional area with a resultant drop in cost, is a compelling reason to install an MPPT controller as soon as the array power exceeds a few hundred Watts (12 V battery), or several 100s of Watts (24 V or 48 V battery).

PWM

The PWM charge controller is a good low cost solution for small systems only, when solar cell temperature is moderate to high (between 45°C and 75°C).

MPPT

To fully exploit the potential of the MPPT controller, the array voltage should be substantially higher than the battery voltage. The MPPT controller is the solution of choice for higher power systems (because of the lowest overall system cost due to smaller cable cross sectional areas). The MPPT controller will also harvest substantially more power when the solar cell temperature is low (below 45°C), or very high (above 75°C), or when irradiance is very low.

  • Charging Method
    The difference between the PWM controller and the MPPT solar controller is that they charge differently. The PWM is charged in a three-stage charging mode. MPPT is the maximum power tracking technology, and the charging efficiency can be increased to about 30%.
  • Voltage
    When the MPPT solar controller is used, the charging efficiency is more obvious when the high-voltage solar panel is used to charge the low-voltage battery. If the voltage of the solar energy and the battery are the same, for example, it is 12V, then the difference between the practical PWM and the MPPT controller is not very big.
  • Power
    If the power of the solar panel is small, it is more appropriate to select a PWM controller. Relatively speaking, if the power of the solar panel is large, MPPT is selected.Solar controllers, because the cost of MPPT solar controllers is high, if your solar panel power is small, it is a waste of MPPT controller.

Salt Water Batteries

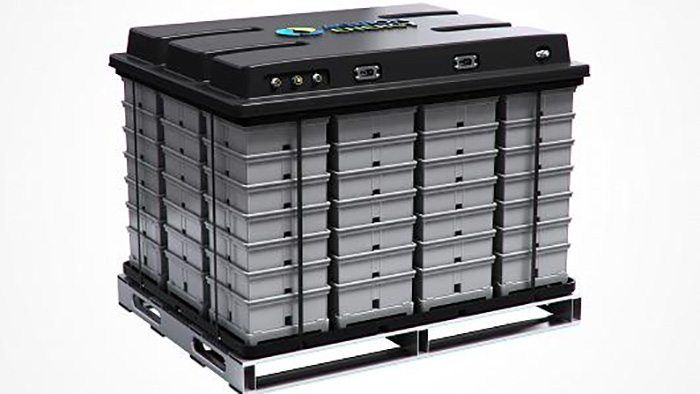
Saltwater batteries are not similar to lithium-ion batteries or lead acid batteries for use in portable devices or any automobiles. This is because they can’t hold as much charge in the same size and weight, or putting it another way, they are less energy-dense. But they hold some powerful advantages in applications in which size and weight are less important.

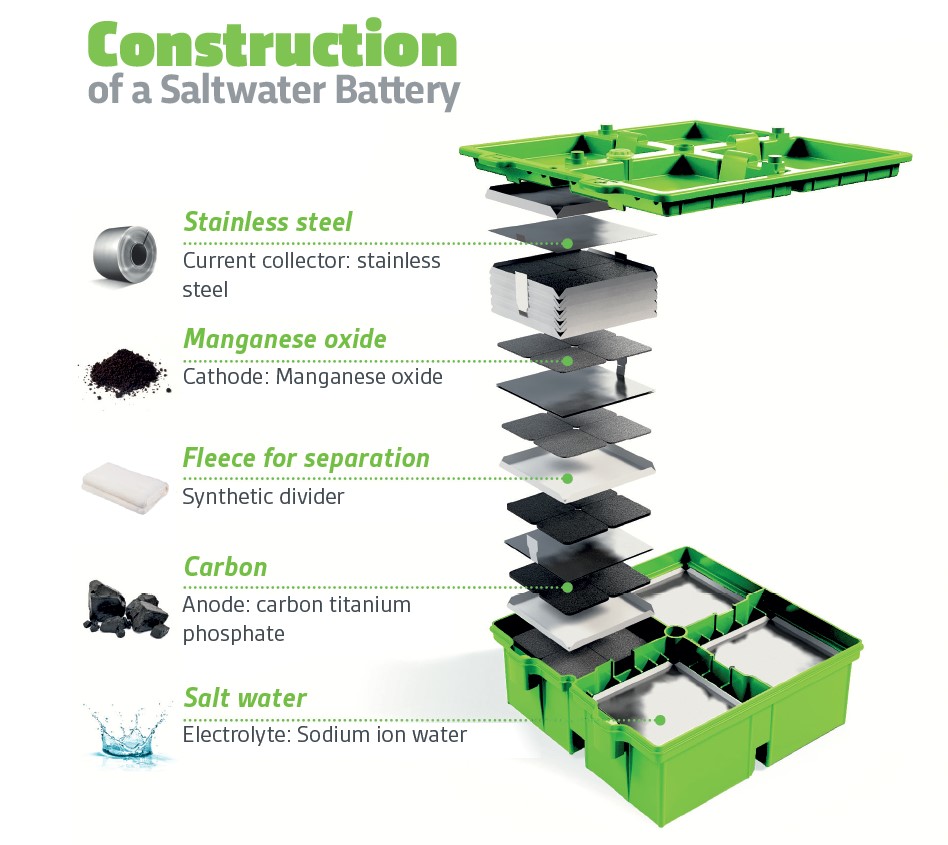
The electrolyte for a saltwater battery is nothing more than — salt water — hence the device’s name comes from it. The anode can be carbon, and the cathode can be a material such as manganese oxide. (Or anode can be copper and cathode can be zinc or aluminum).

With no hazardous materials in their construction, unlike lithium-ion batteries, they are non-toxic and they cannot explode. There is no need for the complex and troublesome electronic circuitry that every lithium-ion battery needs to ensure that they charge and discharge only within safe parameters. In addition, unlike their lithium-based cousins, saltwater batteries can be more deeply discharged (drained of electrical energy) with no damage to the battery.

The biggest disadvantage of all forms of salt-water batteries is that, to store a given amount of electricity, they are bulkier and heavier than other commercially available batteries. As it turns out, there is one huge potential use for these devices in which that will be no issue at all — smoothing out power from large-scale renewable-energy-generation plants.

Get selected location’s coordinates using Google’s Javascript API

To get the coordinates from a selected location on the map (Latitude and Longitude) to input fields, we can use Google’s Javascript MAP API. Here i have used a search field to search locations by name. Therefor i had to use Places API too.

How it works

I have used simple Bootstrap4 html page to place map. According to the Google’s documentation guide we can use below Javascript codes to get selected location’s coordinates in to two input fields at the bottom.


<script src="https://maps.googleapis.com/maps/api/js?key=AIzaSyAcr__t5RD7E40Yz6rgEVHQOAI4kcsMrIA&libraries=places&callback=initialize" async defer></script>
<script>
function initialize() {
	var myLatlng = new google.maps.LatLng(7.873053999999999,80.77179699999999);
	var myOptions = {
		zoom: 8,
		center: myLatlng,
		mapTypeId: google.maps.MapTypeId.ROADMAP
	}

	var map = new google.maps.Map(document.getElementById('map-canvas'), myOptions);

	// Create the search box and link it to the UI element.
	var input = document.getElementById('pac-input');
	var searchBox = new google.maps.places.SearchBox(input);
	map.controls[google.maps.ControlPosition.TOP_LEFT].push(input);

	var marker = new google.maps.Marker({
		draggable:true,
		position: myLatlng,
		map: map
	});

	// Bias the SearchBox results towards current map's viewport.
	map.addListener('bounds_changed', function() {
		searchBox.setBounds(map.getBounds());
	});

	google.maps.event.addListener(marker, 'dragend', function (event) {
		var poiLat = this.getPosition().lat();
		var poiLon = this.getPosition().lng();
		$('#latitude').val(poiLat);
		$('#longitude').val(poiLon);
	});

	var markers = [];
	// Listen for the event fired when the user selects a prediction and retrieve
	// more details for that place.
	searchBox.addListener('places_changed', function() {
		var places = searchBox.getPlaces();

		if (places.length == 0) {
			return;
		}

		// Clear out the old markers.
		markers.forEach(function(marker) {
			marker.setMap(null);
		});
		markers = [];

		// For each place, get the icon, name and location.
		var bounds = new google.maps.LatLngBounds();
		places.forEach(function(place) {
			if (!place.geometry) {
				console.log("Returned place contains no geometry");
				return;
			}

			var icon = {
				url: place.icon,
				size: new google.maps.Size(71, 71),
				origin: new google.maps.Point(0, 0),
				anchor: new google.maps.Point(17, 34),
				scaledSize: new google.maps.Size(25, 25)
			};

			// Create a marker for each place.
			marker.setPosition( place.geometry.location );
			map.panTo( place.geometry.location );
			$('#latitude').val(place.geometry.location.lat());
			$('#longitude').val(place.geometry.location.lng());

			if (place.geometry.viewport) {
			// Only geocodes have viewport.
				bounds.union(place.geometry.viewport);
			} else {
				bounds.extend(place.geometry.location);
			}
		});

		map.fitBounds(bounds);
	});
}

</script>

Here is the final output.

You can download the source code from my Github: https://github.com/lahirutm/Get-coordinates-using-Google-s-Javascript-API