PHP/MySQL Database Class

This is a simple and easy database class to use in a PHP/MySQL application. I have used Object Oriented Programing (OOP) methods to made this very useful in OOP applications.

class.database.php

<?php
// database class
class database {
    protected static $connection;
    
    var $hostname="localhost";
    var $username="root";
    var $password="";
    var $database="test_database";

    public function __construct() {
        
    }

    public function connect() {    
        if(!isset(self::$connection)) {               
            self::$connection = new mysqli($this->hostname,$this->username,$this->password,$this->database);
        }

        // If connection was not successful, handle the error
        if(self::$connection === false) {
            // Handle error - notify administrator, log to a file, show an error screen, etc.
            return false;
        }

        self::$connection -> query("SET NAMES 'utf8'");

        return self::$connection;
    }


    public function query($query) {
        // Connect to the database
        $connection = $this -> connect();
        // Query the database
        $result = $connection -> query($query);

        return $result;
    }

    public function multi_query($query){
        // Connect to the database
        $connection = $this -> connect();

        // Query the database
        $result = $connection -> multi_query($query);

        return $result;
    }

    public function insert($query) {
        // Connect to the database
        $connection = $this -> connect();

        // Query the database
        $connection -> query($query);
        // Get inserted id
        $insertid = $connection -> insert_id;

        return $insertid;
    }

    public function select($query) {
        $rows = array();
        $result = $this -> query($query);
        if($result === false) {
            return false;
        }
        while ($row = $result -> fetch_assoc()) {
            $rows[] = $row;
        }
        return $rows;
    }

    public function num_rows($query) {
        $result = $this -> query($query);
    
        if($result === false) {
            $count = 0;
        }
        else $count = $result->num_rows;
        
        return $count;
    }

    /**
     * Fetch the last error from the database
     * 
     * @return string Database error message
     */
    public function error() {
        return self::$connection -> error;
    }

    /**
     * Quote and escape value for use in a database query
     *
     * @param string $value The value to be quoted and escaped
     * @return string The quoted and escaped string
     */
    public function escape($value) {
        $connection = $this -> connect();
        return $connection -> real_escape_string(trim($value));
    }
}

$database = new database();
?>

How to use this in a PHP application ?

You must include this in your php page where you need to get data from mysql database or write data to mysql database.

Let’s assume, we have system_users table in our test database. Now we want to get users from this table. So, here is my get_users.php file.

<?php
require('class.database.php'); 

$sql = "SELECT `user_name`, `user_email`, `user_password` FROM `system_users` WHERE 1";
$users = $database->select($sql);

echo json_encode($users);
?>

Download source code from my Github: https://github.com/lahirutm/PHP-MySQL-Database-Class

Install PHP 7.3 on Ubuntu 18.04 with Apache

Linux is a very popular environment for [PHP + Apache] server configuration. Ubuntu is a one of popular operating system in Linux family. In this post, i am going to describe the steps for installing PHP 7.3 with Apache2.

Before we start, ensure that your system packages are upto-date. Run theĀ  below to commands to perform system package update and upgrade.

sudo apt update
sudo apt upgrade

This will update the package index and update the installed packages to the latest version.

PHP 7.3 is a not available on Ubuntu 18.04 default repositories. Add the ondrej/php which has PHP 7.3 package and other required PHP extensions.

sudo apt install software-properties-common
sudo add-apt-repository ppa:ondrej/php
sudo apt update

If you encounter the error, sudo: add-apt-repository: command not found, install the following package to fix it.

sudo apt install software-properties-common

Now, re-synchronize your system packages to the latest versions.

sudo apt update

Install PHP 7.3 for Apache

Execute the following command to install PHP 7.3

sudo apt install php7.3

After the installation has completed, confirm that PHP 7.3 has installed correctly.

php -v

Now, install some commonly used php-extensions with the following command.

sudo apt install php7.3-common php7.3-mysql php7.3-xml php7.3-xmlrpc php7.3-curl php7.3-gd php7.3-imagick php7.3-cli php7.3-dev php7.3-imap php7.3-mbstring php7.3-opcache php7.3-soap php7.3-zip php7.3-intl -y

Now you have successfuly installed PHP 7.3 on Ubuntu.

Install PHP 7.3 on Windows 7/8/10 with IIS

Internet Information Services (IIS) for Windows is a flexible, secure and manageable Web server for hosting anything on the Web. It is commonly made for windows server operating systems. But we can still use it in any versions of windows operating systems by enabling the feature.

To install IIS on Windows 8

  1. On the Start page, type Control Panel, and then click the Control Panel icon in the search results.
  2. In Control Panel, click Programs, and then click Turn Windows features on or off.
  3. In the Windows Features dialog box, click Internet Information Services.
  4. Pre-selected features that are installed by default, and then select CGI. This selection also installs FastCGI, which is recommended for PHP applications.
  5. Click OK.

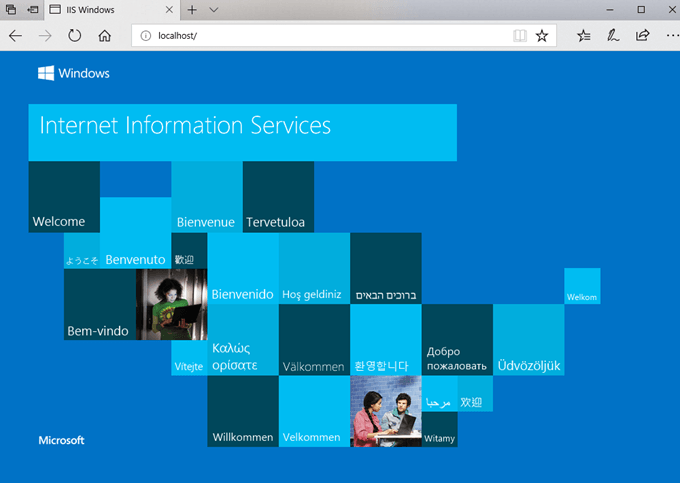
To verify that IIS installed successfully, Type the following into a web browser: http://localhost
You will see the default IIS Welcome page.


Install PHP by using Web Platform Installer.

The preferred method to install PHP on Windows computer is to use Web Platform Installer (Web PI).

Open a browser to the following website: Microsoft Web Platform Installer.
Click Download It Now, and then click Run.

At the top of the Web Platform Installer window, click Products.

Click Frameworks, and then select the current latest version of PHP. (At this writing, the current latest version is PHP 7.3)

Click Install.

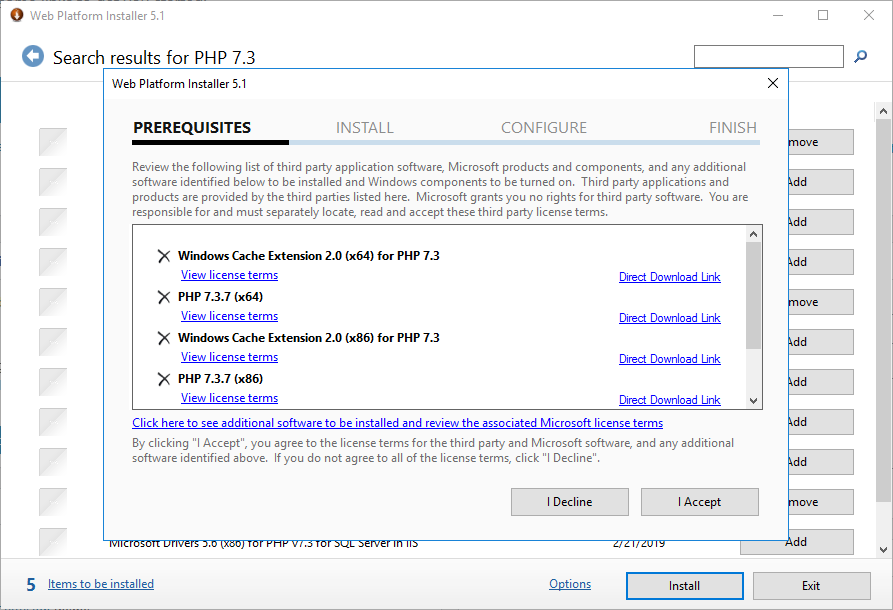
The Web Platform Installation page displays the version of PHP and its dependencies that will be installed.

Click I Accept. Web PI installs the PHP packages.

Click Finish.

Test the PHP installation

Open a text editor, for example Notepad, as Administrator.
In a new file, type the following text:

<?php phpinfo(); ?>

Save the file as C:\inetpub\wwwroot\phpinfo.php
Open a browser and enter the following URL: http://localhost/phpinfo.php

A nicely formatted webpage is displayed showing the current PHP settings.